
I've promised to make it for him as a
There is a lot of slightly different designs of the helmet, so I just took one and had to stay true to this design for the whole build. So don't be scared the helmet I've done doesn't look the same as the helmet on the first picture of this article, or some other helmets you can find on the internet. Even the main idea of the helmet stays the same, there are details, that differ.
Also, I didn't find any proper foam pattern for it, so I was forced to make one myself, I can't understand it, since there are a lot of Dovahkiin helmets all over the world already.
Patterning
I had to make a new helmet pattern, I thought I can use a pepakura file I found on the internet, but the truth is, pepakura has more seams than foamsmiths actually want on their props. The only way how to use pepakura file for this build is to build it from paper and make the foam patterns out of it later. But if you're interested in pepakura, here is the PDF file for you to download and here is the PDO file to download.
I started to make pattern with the help of my polystyrene head. I adjusted the head to be a little bigger than my head (if it is a gift, you have to make the helmet bigger to fit everyone, also a helmet for you needs to be bigger, since you wear often awig under it too and it adds volume to your head) and wrapped it in aluminium foil that I reinforced with ducktape. I've written a desired shape onto it, cut
it in pieces and transfered it on the foam. The pattern for cranial part has a dome shape and has 4 similar parts. Then there is a part for face and with eyeholes marked B, C is the nasal part, D is the horn holder, E is the back part and F is the horn design (but you can design your own shape). The horn holder should be adjusted after the horn is carved out of foam and glued together.
Here is my pattern to download. Before downloading - keep in mind that you need to adjust every piece for your head and for the desired outcome.
Working with foam
 I cut the 5mm EVA foam from poly-props with sharp exacto knife. Then I glued it together with contact cement. Then I had the cranial part of the helmet done. If you have some imperfections after gluing the parts together, there are some product, that can fix your mistakes - for example Kwik Seal or Pattex Sanitary Silicone.
Next step was to make a facial part of the helmet - I cut two triangular pieces and glued them to the rest of the helmet. For the parts on the back, there are two layers of foam glued to the back of the cranial part.
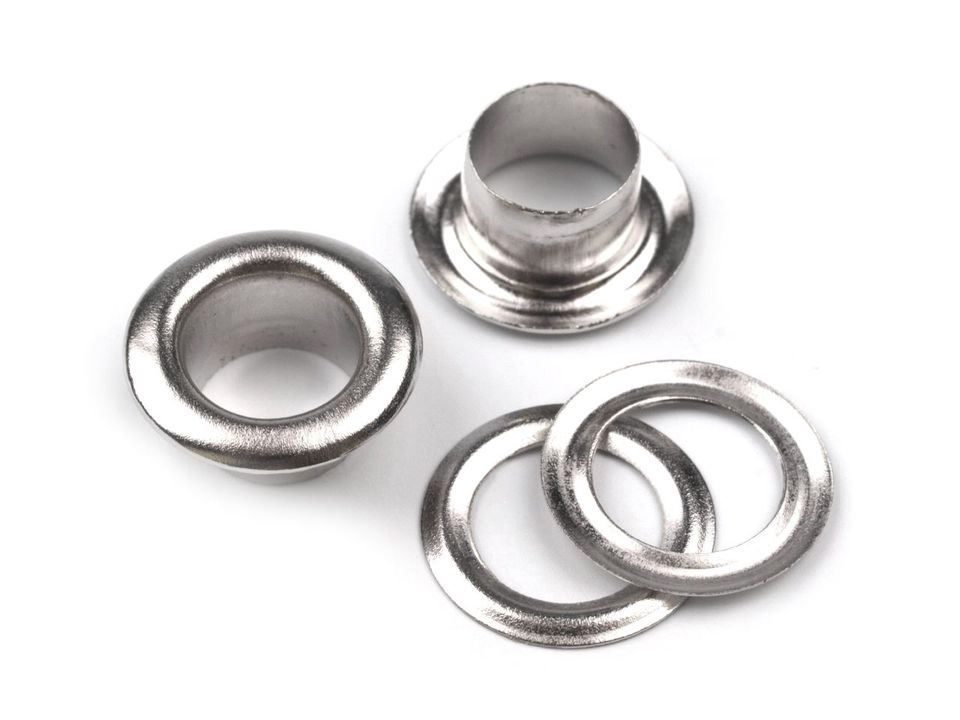
I decorated the helmet on the front with moosgummi stripes and borders. I cut the rivets out of moosgummi with simple round grommet pushed on the moosgummi. I carved EVA foam with dremmel to the desired shape and glued it onto the front nasal part of the helmet.
For the horn holders I've used 1cm EVA foam and dremmeled the edges to fit onto the helmet. Before I glued them to the helmet, I inserted the done and painted horns inside and glued them inside with a hot glue gun in the right direction.
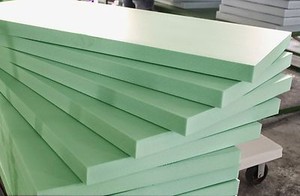 |
| XPS styrofoam/polystyrene |


Making the horns

I've bought a layer of XPS polystyrene (XPS polystyrene is much more dense than normal EPS polystyrene - you can find it in gray or green color in hobby markets like Hornbach or Baumax or Obi) and in order to have the horns thick enough was forced to glue 3 layers together. For the gluing I've used polystyrene glue, but hot glue would also do the job if you're careful and don't overheat the glue (glue with really high temperature consumes the polystyrene).
I carved the basice shape with carpet knife and used dremel with thick sanding paper to perfect it's shape. Then I took conical dremel and made all the wrinkles and imperfections in the horns with this tool. Since the surface wasňt so perfect as horns, that you model with clay and cast, you can wrap it in worbla for better surface and sturdiness. For a cheaper variant, I've used gesso (acrylic primer for painting) to make the surface smoother and the horns sturdier - use several layers. When it was dry, I've applied woodglue for additioinal studriness and shinier surface. (This variant can maybe look time consuming, but by using worbla, you would need to do all the details once again and press the worbla hard onto the horn + you won't get away without priming worbla - so in terms of time consuming, both variants are similar).
 |
| makeup sponges |
 |
| poly-props seal |
Priming, painting and finishing

After the horns were done with dremel, they were primed with gesso and woodglue and I've decided to use acrylic color for painting. I've painted the whole horn with makeup brush with dark brown color and when it was dry I put a little of color on a makeup sponge and dabbed it all over the horn. Thanks to this technique, the color got only on higher based places and didn't reach into the lower based places and crinckles. This way I build up to the lightest light brown and the horns were done. I glued them then inside the horns holders with hotglue, which were later glued to the whole helmet with contact cement.
Then I took the helmet and made battle damage all over the place with cylindrical adapter. Be careful by doing battledamage, that the damaged places should be on the probable spots of impact. Don't make battle damage on unaccessible places, where it doesn't make sense.(This step is optional, but it adds a feel of reality into the helmet)
I primed it then with polyprops-seal primer, which leaves on the surface rubber like film and makes the helmet much sturdier and much more durable even by bending. It also makes the foam sealed so it doesn't drink so much paint. It is similar to PlastiDip! Then I painted it with black acrylic color everywhere except the horns. When it was dry, I took makeup sponge, put a little drop of high quality silver acrylic color on it and made small strokes with it all over the whole helmet, so it looked worn and not so shiny. If you want a new shiny helmet look, you can dab the sponge evenly on the helmet as I showed already in my tutorial HERE or HERE.
I added also a rust effect on some places - try to mix orange, brown, black, and red for the best effect, for bestresults use acrylic medium for a uneven look.

I hope this will help you on your future projects and if yes, you can follow my work on cosplay (and other stuff) on my FACEBOOK PAGE.

and if you like this stuff I do, you can support my work by donating on my PATREON
Yours
Germia <3

0 komentářů:
Okomentovat